I'm posting this on behalf of codmoddd1234 as he's not able to post anything on the forums (and I should have posted it about a month ago or two, but I wasn't really able to do it).
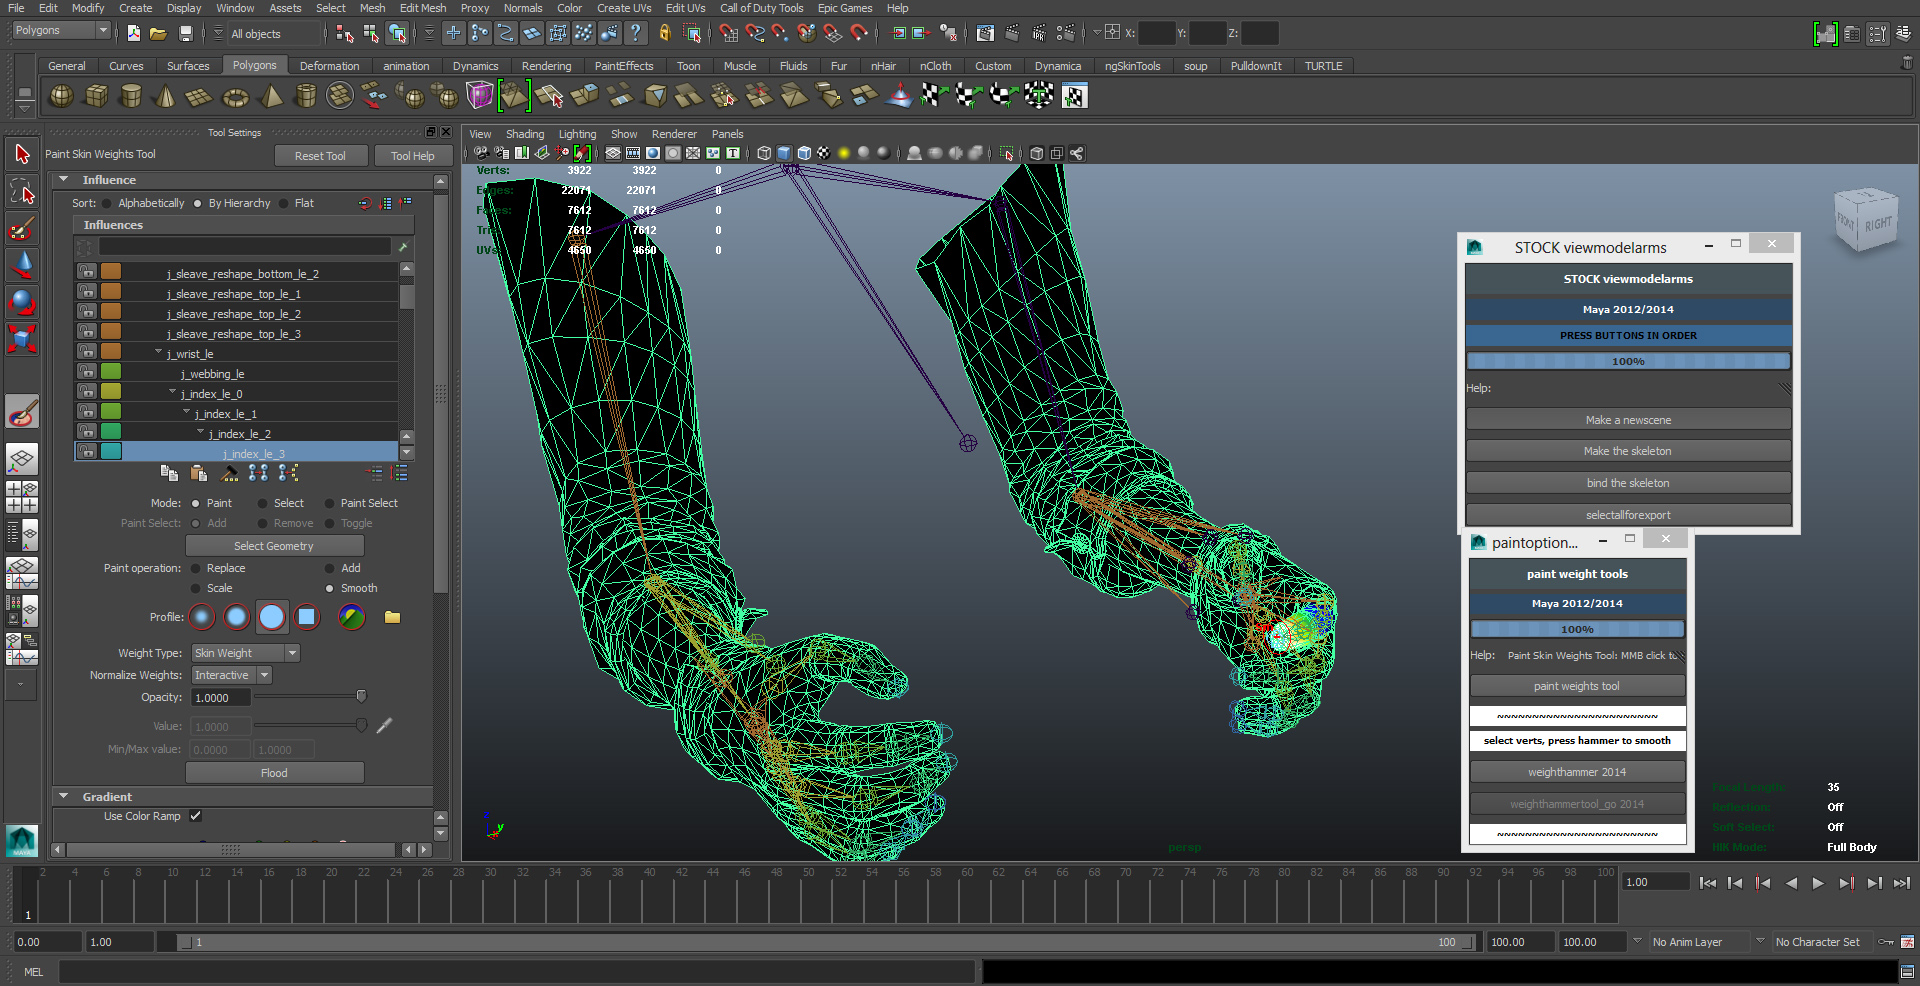
The link below contains various Maya scripts that are self explanatory and can easily be used by pasting it into Maya's script editor. Instructions are included in the comments of the scripts. If you have any problems, codmoddd1234 will do his best to help.
Let's say you're a really good friend of a famous director, and he says he wants to work on a film/tv show based on a video game of your choice. After your friend buys the rights of the game however, the game will not have any new installments. If you know he'll make the best vg adaptation ever directed, which video game would you choose given the circumstances?
After seeing people complaining about the looks of the ported weapons on custom maps, I realized some custom maps doesn't only have bad looking textures on weapons, but they also have bad looking textures on brushes and etc. You'll need the following stuff to make normal maps, specular maps and cosine power maps for WaW. Since the plugins' readme files explain how to install them, I won't be covering those steps.
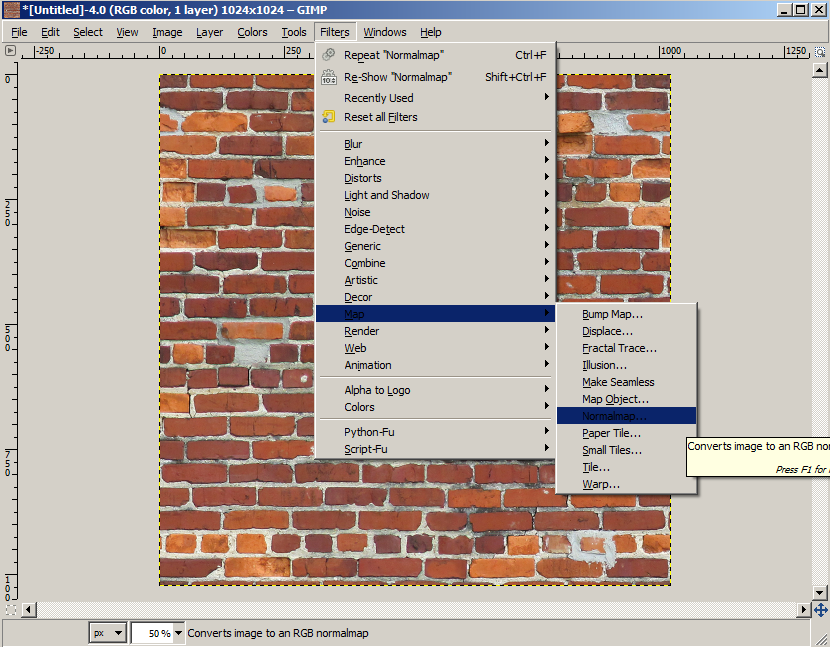
Just open or import the color map on Gimp. Go to Filters -> Map -> Normal Map
You'll see a window that shows options for the normal map it's gonna generate. Click 3D Preview to see how it'll affect the texture in game. Change the shape to sphere on options. You can move the lights too.
You may need to change the filter to adjust the sharpness and invert X and/or Y axises. When you're satisfied with the looks of the 3d preview, press OK and export the generated normal map as a TGA image.
- Generating the cosine power map
If the texture has too many areas that shouldn't reflect ligts, it's best to use the normal map to generate the cosine power maps. You can also use the colour map to generate the cosine power map. To do that you'll just need to do what's written in the parentheses on the second step.
Import the normal map into gimp. Go to Colors -> Colorify, select white and press OK. (you can also do this by converting the image to grayscale, but there's a chance of fucking it up when grayscale is used.)
Go to Colors -> Invert (you may probably not need to invert the colours if you're using the colour map to generate the cosine power map)
Go to Colors -> Brightness & Contrast
You'll need to adjust the brightness and the contrast to make the image darker or lighter depending on how you want the cosine power map to look.
Since what the cosine power maps basically do is to show the engine which parts of the texture will shine, the image below will do a decent job for the texture i'm using.
Note: I know some of you might think it's stupid to use the normal , but based on my experience, generating the cosine power maps using the normal sometimes gives you better results on some textures. For example, if you generate the cosine power map by converting the color map to grayscale and darkening it, it'll make the cracks shiny too; but if you generate them with the normal map, the ares that shouldn't shine like cracks will stay dark.
- Generating the specular map
What specular maps basically do is adjust the intensity of the reflection on a surface. So you'll just need to adjust the brightness and contrast depending on how you want it to shine. The image below is how i made the specular map for the texture I'm using.
After generating each image, you can convert the material using the images you generated. You can see how my example looks in game in the video below.
Hey guys. Couldn't really keep myself from posting it later with more screenshots, so here it is. It's basically a re imagination of the beloved zombie map, Der Riese. It won't be an exact replica of it and it certainly won't have any assets from waw unless it's really necessary. All the models and textures seen in the sceenshots are ported from CSGO, L4D2 and HL2. As for the weapons, here's the list i have in mind. (some still needs animations and stuff. so if you think you have fitting animations for the ones that isn't ported yet, consider asking me if need help with those )
Spoiler: click to open...
CS:GO Weapons: The ones below are ported and ready to use or almost ready
G3SG1 with and without the scope MP9 MP7 P90 Bizon CZ75 Five Seven Desert Eagle UMP 45 SG 553 AUG AK-47 SCAR-20 AWP
The ones below are going to be ported with or without custom animations
MAC-10 GALIL-AR Nova M4A4 MAG-7 XM1014 SSG-08 Butterfly and/or Karambit knife as a replacement for bowie knife and hell's retreiver
Half-Life 2 Weapons: Crossbow Gravity Gun
Screenshots
A lot of things like textures, some buildings, vision, worldspawn settings are subject to change. Even though lots of textures include normal maps and stuff with them, I'm going to remake all of them when the map is near completion. I'll try to update the topic with more screenshots every week so stay tuned
Note: If any of you guys wonder when assault is going to be released, let's just say it's soon. I'm just too lazy to fix the issues and complete the scripts and stuff
After I installed the latest update of flash, chat started muting my computer after spending some time there. I don't know why it happens but it only does it when I'm on chat and it started happening right after I updated flash. Anyone else having this issue or any ideas on how to fix it?
Hi guys. I've just made a drag and drop app that generates a .bat file that automatically runs the converter for each asset in your gdt file. With no further ado, here's how it's used:
- Drag and drop a .gdt file on gdt2bat.exe - Copy the .bat file in root/bin/ - Run the .bat file
If you're a Windows 7 users, you'll likely to get the UAC thingy popping upon each conversion. In order to avoid that, you'll need to run command prompt with administrator privileges and run the .bat file like this:
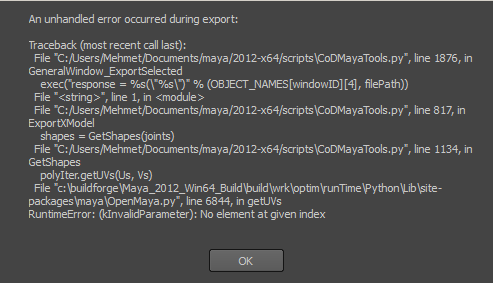
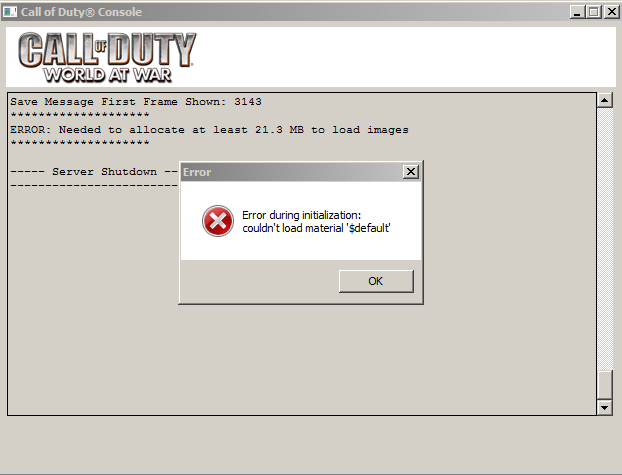
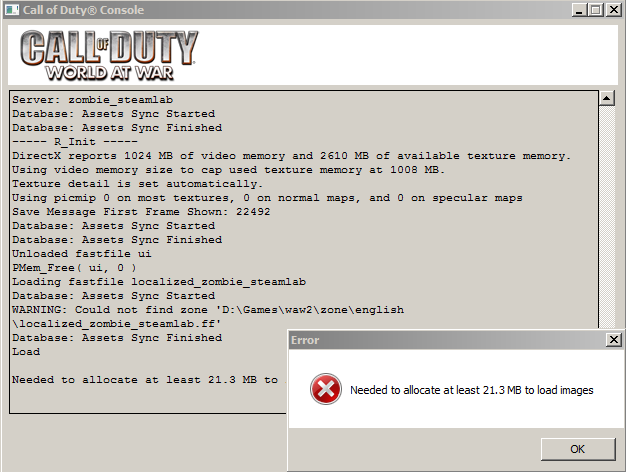
Like the title says, I get this error whenever I try to compile a map.
One of the model phong materials which is used by a model referenced in the console log, so i tried compiling the map without that model and it compiled without and error. Also, if I keep compiling after that error, the compiling goes without any further errors but the map doesn't load unless I keep the texture quality at lowest and I get this error if I don't.
Like the title says, I don't know if i can make it more clear. I tried changing the surface type of model phong materials and converted them a million times but they don't seem to change in game. Any ideas?
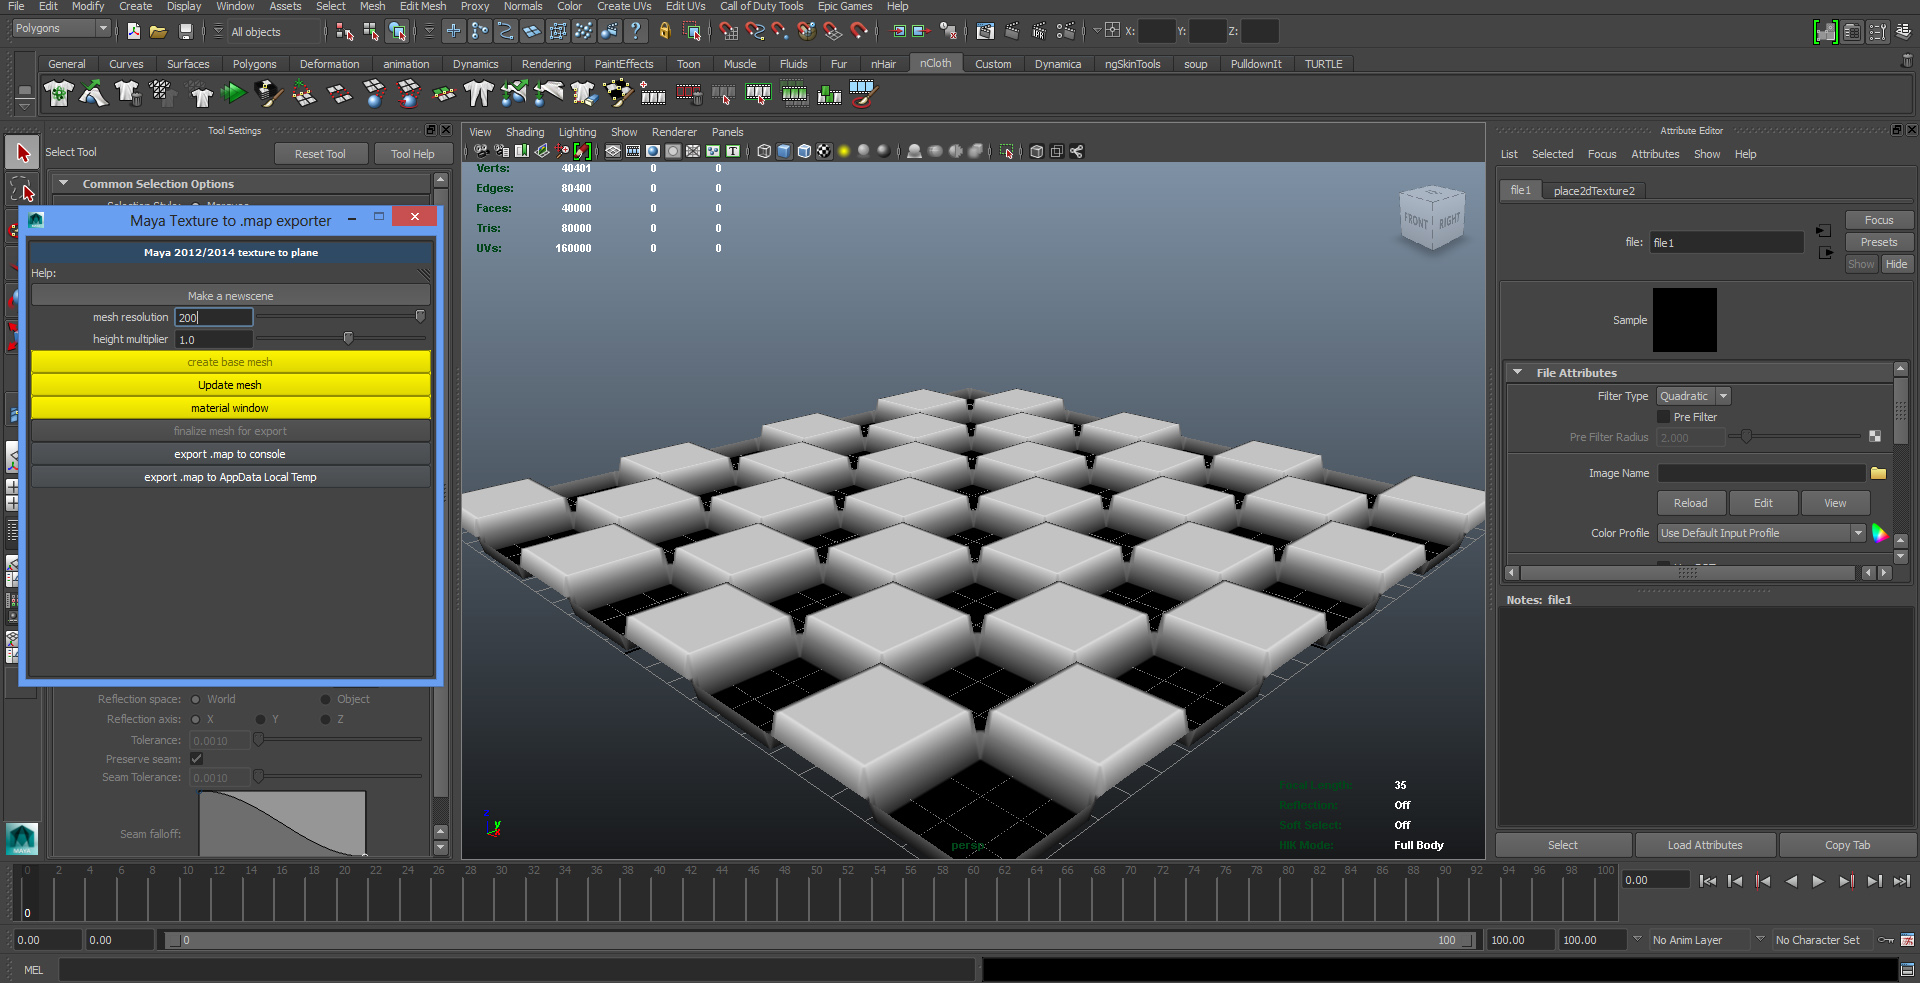
I have released the tool for public use and you can get it from the project's Github page. Watch the tutorial below to learn how to use it.
My new tool, Corvid, is going to be released for everyone in a short time. You can follow the progress from the Github page of the project or even download and test it for yourself if you know your way around Python. I will be releasing a tutorial along with the binaries once everything is ready. Here are some screenshots of the tests I and the testers did.
Assault from Counter-Strike Global Offensive. Courtesy of Numan.
Overpass from Counter-Strike Global Offensive. Courtesy of Geekidos.
Mirage from Counter-Strike Global Offensive. I was too lazy to bake lighting in Radiant since my computer is not good enough for such intense tasks.
Mirage again, but in Cod 4.
However, I'm not deleting the original tutorial because I think it has historical value.
Hidden Text
Hey guys. I've been working on this for a very long time and I think it's high time I share it. Unlike porting GoldSRC Engine (Half-Life, CS 1.6, etc) maps, porting maps from Source Engine maps is a lot harder and requires more skills. I tried to make the hard part as easy as I can so hopefully it'll be an easy job for you guys to port maps from Source Engine maps.
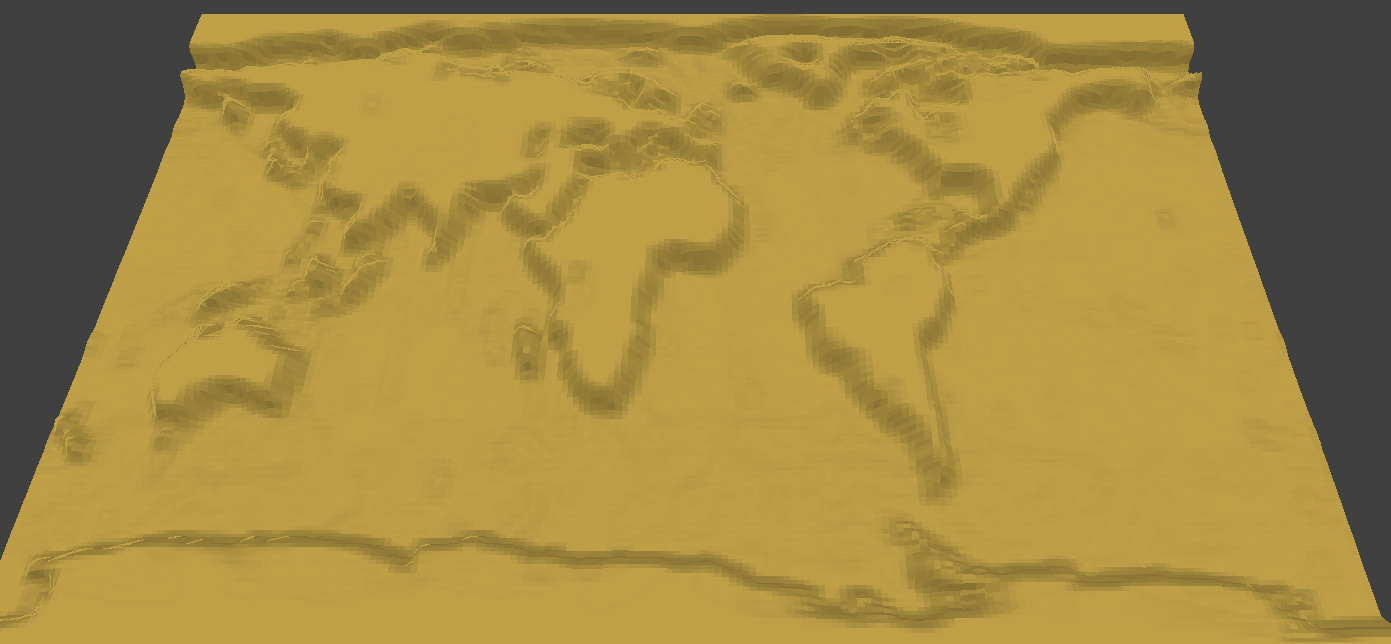
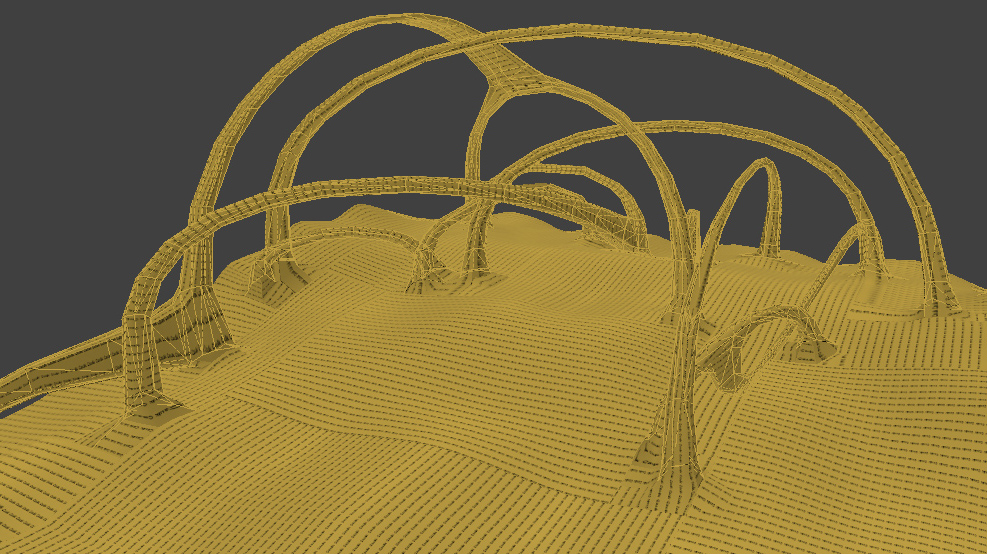
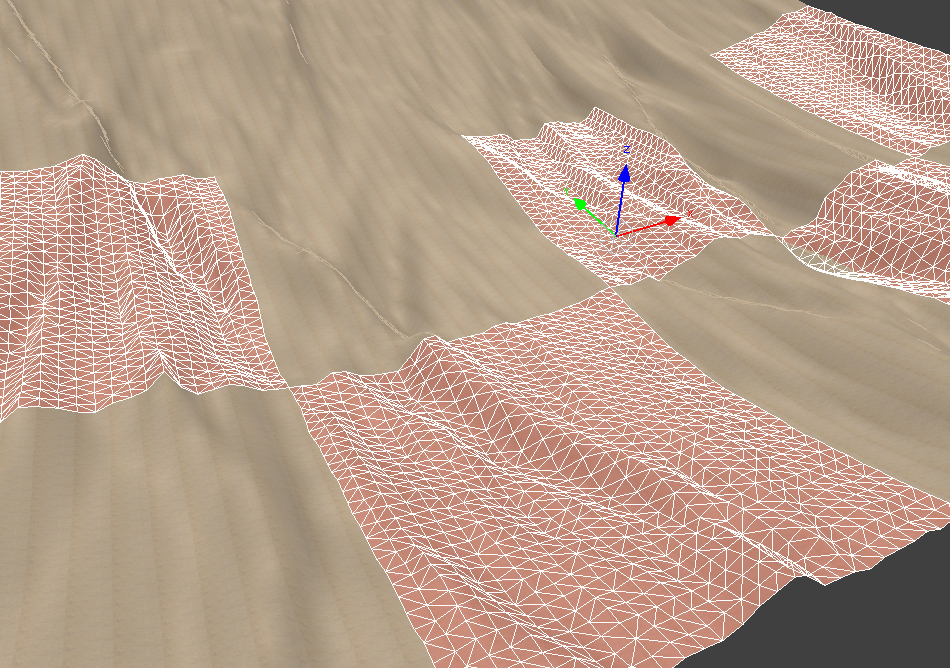
Note: Before starting, I would like to thank the guys at killtube.org for the VMF parser. It saved lots of time for me http://killtube.org/showthread.php?1003-VMF2Map Another note: Unfortunately, I still haven't found a way to convert the terrain patches, so they'll be flat brushes when they are converted. Any help will be appreciated about that
Requirements
A game built on Source Engine
The tools listed below
Maya with Call of Duty export plugins and the knowledge of how to use them
A functional brain
Before you start, you'll need to download the following tools.
- Extracting the materials and models with GCFSpace
In Source Engine, files like textures and models are stored in VPK files pretty much like Call of Duty's IWD files. There are usually two directories in which the VPK files are stored on most of the games (l4d2 is not one of them for example). One of them is always hl2 and the other one is usually the game's name's abbreviation (hl2mp in my case).
You'll need to open VPK files like gamename_pak_dir.vpk, gamename_misc_dir.vpk, gamename_textures_dir.vpk, and extract the folders "materials" and "models" in the same folder.
After you're done extracting the models and materials, you can copy or move the extracted folders in the game's directory (in my case steamdir/steamapps/common/Half-Life 2 Deathmatch/hl2mp/).
- Decompiling the bsp file with BSPSource
Run BSPSrc, click "Add", find the bsp file of the map you want to port and click "Decompile". I'm decompiling dm_steamlab from Half-Life 2 Deathmatch as an example.
- Converting the decompiled VMF file to a MAP file readable by Radiant
Run Johndoe's Tools, go to Source2Cod -> Map Converter, chose the VMF file you want to convert and hit "Convert".
After the app converts a VMF file, it creates three files. The file mapname.map is obviously the converted map file, mapname_textures.json and mapname_models.json have information about models and textures which can be used by Johndoe's Tools to copy the assets later.
- Copying the textures and models
Go to Settings, set your game's directory. Go to Source2Cod -> Texture/Model copier, select mapname_textures/mapname_models.json and hit "Copy".
- Decompiling the models with crafty
Go to the directory "copiedassets/mapname" and copy the directory "models" in gamedir/models/ with a different name (gamedir/models/copiedmodels/ for example).
Run Crafty, go to Setup -> Options -> Exporting and set texture extension to VTF and save it.
Go to Setup -> Options -> Directories and set your Steam directory and username.
Go to Setup -> Profiles and select the game.
Go to View -> Model Browser
If you set your Steam directory and game profile correct, then you'll see the copied models in root/models/[copiedmodels]. Find your copied models folder and expand it, right click every MDL file one by one and click "Export" or just navigate among the models with arrow keys and press Ctrl + E to export the highlighted model.
Make sure you export the models with their respective names in the same folder.
- Exporting the models with Maya
Create a file called resize.mel on your desktop, paste the following code in it and save it.
Run maya, open a model, select the whole model, drag and drop the MEL file on it. When exported, models from Source Engine are 2.54 times smaller than they are supposed to be so what we're doing here right here is a quick fix for it. You can safely export the models with their respective names. - Fixing material names of the models When you export a model with Crafty, it exports the textures like modelname_material_x. Even if there are models that shares some textures, there will be multiple copies of the same file over and over again which makes the map's size bigger and makes you closer to engine limits. To prevent this, copy the xmodel_export files in "tobefixed/xmodel_export/" and the exported VTF files in "tobefixed/vtf/". Go to Source2Cod -> Material Fixer, hit "Start Fixing". It will copy the fixed xmodel_export and VTF files in "fixedmodels/xmodel_export/" and "fixedmodels/vtf/". When it's done, move the fixed xmodel_export files into "Johndoe's Tools/xmodel_export/". - Converting the textures with VTFEdit and NVidia DDS Converter Go to "copiedassets/mapname/textures" and move the vtf files in a new folder, go to "fixedmodel/vtf" and move the vtf files in the same folder. Run VTFEdit, go to Tools -> Convert Folder, set the the folder you just created as the input folder, create another folder and set it as the output folder. Set output type as TGA, convert the textures. Set the output type as PNG and convert them in a different output folder. Copy nvdxt.exe in the folder where you exported the tga files, create a .bat file and copy following code and paste it into it.
Code Snippet
Plaintext
nvdxt.exe -file *.tga -dxt5 -alpha
Copy the recently created DDS files in the folder "dds" in Johndoe's tools. Copy the PNG files in "dds/thumbnails". - Go to GDT Generator -> For Textures/For Models You can safely save the gdt file for xmodels. However, you'll need to set the properties of every single texture by looking at their preview images. This part is self-explanatory, so I don't think you'll need screenshots for it. - Converting the assets for Call of Duty Copy the GDT files from the folder "gdt" and paste them in "codroot/source_data/", the DDS files in "codroot/raw/images/custom/", xmodel_export files in "codroot/model_export/custom/". If you want to do a quick conversion, you can copy the .bat files in "Johndoe's Tools/gdt/" and paste them into "codroot/bin/". It always works on my computer when I run the .bat files as administrator, but for some reason, it doesn't work on computers of the people who tested it. So you'll need to run cmd.exe as administrator (Press start, type cmd, run as administrator), type the following and press enter. For Call of Duty World at war Steam version:
Code Snippet
Plaintext
cd "/Program Files (x86)/Steam/SteamApps/Common/Call of Duty - World at War/bin/"
For disc version:
Code Snippet
Plaintext
cd "/Program Files (x86)/Activision/Call of duty - World at War/bin/"
For Call of Duty Modern Warfare:
Code Snippet
Plaintext
cd "/Program Files (x86)/Steam/SteamApps/Common/Call of Duty 4 - Modern Warfare/bin/"
For disc version:
Code Snippet
Plaintext
cd "/Program Files (x86)/Activision/Call of Duty 4 - Modern Warfare/bin/"
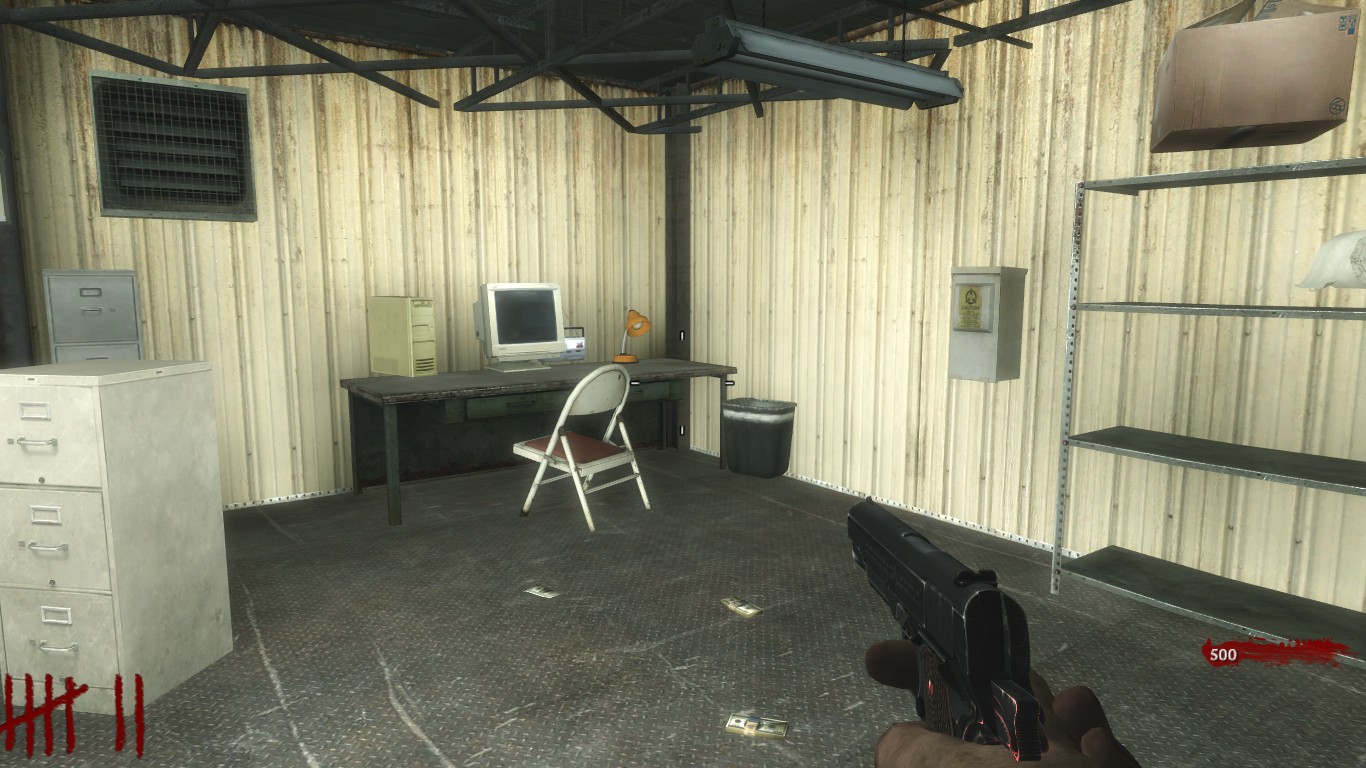
If you have it installed in another directory, you'll need to change it to your game's folder. After that, just type the name of the bat file (you should convert the textures before the models) and it should convert all of the materials one by one. If it doesn't work and gives errors, try converting them manually on asset manager and see the error yourself. After you've done all of these, you can open the map (exported/mapname.map) on Radiant to see if it worked and start working on it after fixing the texture alignments. Here's a screenshot of the map after the conversion. Note that the textures of the brushes need to be realigned since the way the texture alignment info is stored in both VMF and MAP format are different and I couldn't find a way to convert that yet. Also, the pink boxes are actually infodecals converted to script_structs as I couldn't find a way to make a port them directly. For now you can delete all of them. Hopefully I will find a way to work some day. Another screenshot of a room from the same map with fixed textures. Screenshots of other ported maps. cs_assault from Counter-Strike: Source (modified for the zombie mode) contact from Insurgency (modified for the zombie mode) I hope I made everything clear. If you have any troubles with anything with this, feel free to ask.
I just noticed the a spawner on one of the zones gets activated even if the zone of that spawner isn't accessed yet. Here's an example of how i set the zones:
Zombies start spawning in zone2 after accessing zone3 from start zone which is pretty weird. I checked the script_flags on the triggers twice, checked the kvps of spawners and there wasn't anything wrong with them. I even deleted the zones and placed them again to make sure i didn't do anything wrong, but it was still the same. I have no idea how to fix it because everything looks pretty fine to me. Any kind of help is appreciated.
Hey guys. Got another problem here. There are some models i'm trying to rescale in order to use them as debris and stuff. Since modelscale doesn't work on script models, i rescaled the models on maya and converted back to waw, but it didn't work and the models still look the same.
to rescale the models i used the following console command on maya:
Code Snippet
Plaintext
scale -r 2.5 2.5 2.5
i think the problem here is the method i used to rescale the models, but since i'm far more than inexperienced in maya i've absolutely no idea what i'm doing.
i hope i made myself clear about this. Thanks in advance.
 Show Posts


 )
)